I need to fine tune this description but . . .
Stuff you need:
1. This will insert USB 3 and NVME drivers into the Windows 7 ISO
https://www.gigabyte.com/Support/Utility/Motherboard?kw=windows+usb+installation+tool&p=1
This is for Gigabyte AMD boards. My board is Asus and yes Asus makes a version of this utility . . . and if anyone can figure out how to use it - let me know 😎
2.
ImDisk Toolkit (If you don't have a thumb drive handy or want to speed things up) (hint: check the "removable media" box) (Or just use a flash drive and skip this step) It took 15 minutes on a RAM drive so good luck with a real thumb drive.
This Is An Outstanding Utility
You may wish to not install shortcuts and context menu items. Access ImDisk through control panel.
If flash drive is needed check "removable" otherwise leave unchecked.
3.
ImgBurn (The driver insertion process extracts the ISO and you need to rebuild the ISO) (hint - etfsboot.com is the file to make the ISO bootable)
4.
WinSetupFromUSB to create a multiple OS installation flash drive.
If you already have a multi boot flash drive with Win 7 install files, you can easily remove that file by deleting the setup files for Win 7 and editing the menu with Boot Ice. Then add the newly created version.
My NVME arrived today. Windows installed flawlessly. 😎😎😎
(If you don't count trying to find a Win7 LAN driver for a new motherboard. I had to use a USB WiFi dongle . . .)
I installed Win 7 first and updated so was stuck with MBR. Set BIOS to no UEFI.
Have only boot drive connected during install (old but true advice). You want the boot drive to be drive 0 in case you desire to convert to GPT later.
If installing 7 first or simply updating an existing Win7, you will have MBR. If you simply must have GPT for some reason - and your motherboard supports UEFI - Window 10 can convert MBR to GPT without data loss.
Why do I care?
Windows 7 is easily authenticated as genuine and updated to Windows 10.
If . . .
1. You have a product key sticker
...Remember to look inside the battery compartment 😎
2.
Or use this crazy method. (Which is phenomenal)
...Using this method - Once Win 10 gets authorized, create an image. I tried reinstalling and the key Win 10 was using would not allow reinstall. I had to do the whole Win 7 setup dance again. Could have been a fluke but an image would save time.
3. On the other hand . . .
. . . We could use
. . .slmgr scripts (which actually work!).
https://www.youtube.com/watch?v=0wkHPQicR6s&t=196s
Smgr scripts last for limited periods. Not sure about auto renew yet.
To check your activation type
Window Key + R
slmgr.vbs /dli
If you have use the slmgr method you will see a result like this . . .
If it shows a partial product key you are golden with life long authentication.
4. Alternatively you can install an Auto KMS like Windows Toolkit or FrostRose (kmspico).
Be careful where you download. (Hint = kmspico for Office 10 "psw 2016)
5. Or just buy a cheap key for around $15.
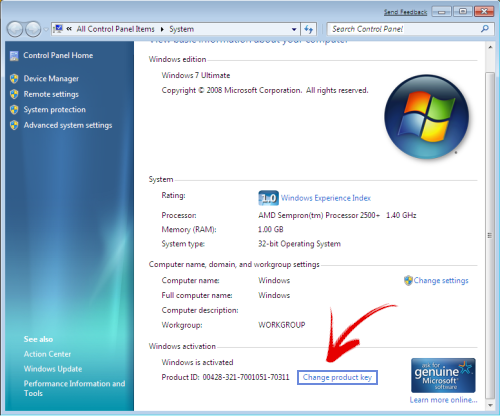
If "Change Producy Key" is not showing . . .
C:\Windows\System32> slmgr.vbs -ipk "INSERT-YOUR-PRODUCT-KEY"
User folders on different drive.
I resisted upgrading my existing PCs because I keep my user folders on drive D. Crazy thing I can't remember if Win 10 upgrade recognized that my user folders were on D: or if I needed to move the C: folders after upgrade. The good news is, it must have been no big deal or I would have remembered. I think Win 10 just recognizes your folders are not on C: and respects the setup.